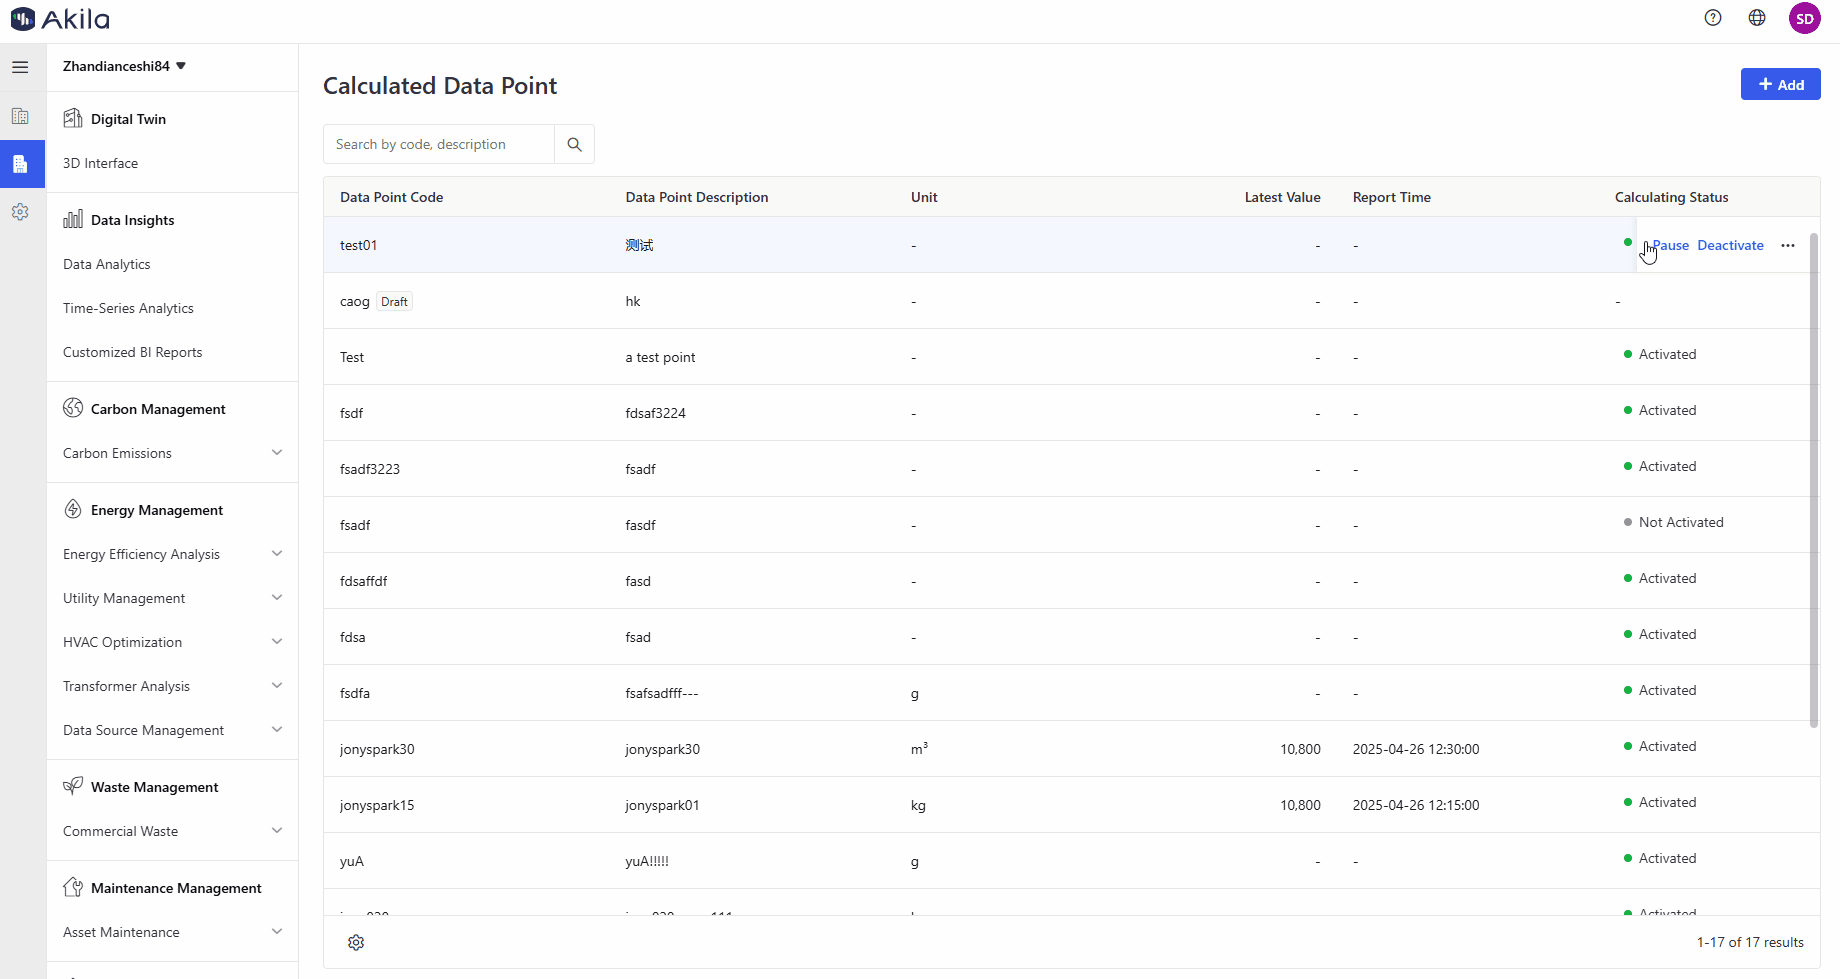
Calculated Data Point
Calculated Data Points are custom metrics derived by applying mathematical formulas to existing raw data points.
Add Calculated Data Point
- Click "+Add" in the top right corner of the page.
- Enter a data point code and description.Note: You can only use letters or a combination of letters and numbers for the code. The description will be displayed when hovering over a data point on the time-series analytics page.
- Select a unit (optional).
- Select a time interval.Note: The time interval will be displayed on the data point's details page.
- Select data sources and click "Apply".Note: You can select up to 30 raw data points for calculation.
- Click "Insert" or "Insert All" in the Data Source area.
- Select or input arithmetic operators and enter a numeric value.Note: You can click "Check" in the bottom left corner of the Calculation Formula area to verify your formula.
- Select "Activate Later" (optional).
- Click "Save".Note: Want to finish later? Save as a draft, then edit anytime to activate. You can add up to 20 calculated data points. You can view their data on the Time-series Analytics page.
Edit Calculated Data Point
- Select the calculated data point you want to edit from the list.Note: You can also click "Edit" on the data point's detail page.
- Hover over the entry and click "Edit" in the list.
- Change the data point description (optional).
- Change the data source or calculation formula (optional).Note: This step only applies to draft data points. You can continue to click "Save Draft" when editing a draft.
- Click "Save".

Pause/Activate/Deactivate Calculated Data Point
Tips:Why we need a "Paused" status for data points? The "Paused" status is essential for ensuring data accuracy. It allows us to temporarily halt data collection or processing when corrections are needed for raw data—such as fixing sensor errors or adjusting miscalculations—before resuming normal operations.
- Select the calculated data point you want to pause, activate, or deactivate.
- Hover over the entry and click "Pause", "Activate", or "Deactivate" in the list.Note: This only applies to non-draft data points.