Location Information
Locations represent areas within or outside a facility where work orders or inspections can be performed and that can be associated with equipment. Locations are aggregated to provide data for Monitoring Points and HVAC Configuration.
You can use it to:
- Upload and manage required locations on the current site.
- Serve as the foundational element for equipment, monitoring points, zones, energy monitoring in the Energy suite, work orders, and inspections in the Maintenance and Workspace suites.
- Associate with 3D Interface Page Model locations.
Locations are managed in a parent-child tree structure with up to six levels.
| Location Type | Description |
|---|---|
| Building | First level location type.You cannot add any location without placing them under building. |
| Floor | Second level location type |
| Room/Work Area/Custom | Third-level location type. Must be created under floors. No sub-locations can be added under "Work Area". |
Add Location
1. Add "Building" Type Location
1.1 Click "+Add" and "Add Building". 1.2 Enter a name and code for the location. 1.3 Enter the address, location function, area, and status, and upload attachments (optional). Note: The location function is configured on the General Settings--Site Location Function page. The unit of area is configured on the Site Settings--Site Area page. Once the status is archive, this location cannot be applied to maintenance and workspace suites. When you upload attachments here, you can also view them on the 3D Interface page. 1.4 Click "Submit".2. Add "Floor" Type Location
2.1 Click "+Add" and "Add Sub-Location" in the top right corner of the page, or click "Add Sub-Location" in the "Actions" column on the "Building" location type list page. 2.2 Select a location code rule. Note: After adding the first sub-location, the location code rule cannot be edited anymore, which means you can skip the step. "Automatically generated by the system" means the location code will be generated by the system. "Customize" means the location code can be customized by you. After selecting, all new added locations will apply the same location code rule. 2.3 Select a parent location. Note: This only applies when clicking "Add" and "Add Sub-Location" on the top right of the page in the first step 2.4 Click "+Add" on the "Sub Location" tab and enter a name for the location. Note: If "Custom" was selected as the location coding rule in the previous step, you will also need to enter the location code in this step. 2.5 Select the location function, enter the area and status, and upload attachments (optional). Note: The location function is configured on the General Settings--Site Location Function page. The unit of area is configured on the Site Settings--Site Area page. Once the status is archive, this location cannot be applied to maintenance and workspace suites. When you upload attachments here, you can also view them on the 3D Interface page. 2.6 Click "Submit"3.Add Third-level Type Location
3.1 Click "+Add" and "Add Sub-Location" in the top right corner of the page, or click "Add Sub-Location" in the "Actions" column on the "Floor" location type list page. 3.2 Select "Room", "Work Area", or a custom type as the "Location Type". 3.3 Select a parent location. Note: This only applies when clicking "Add" and "Add Sub-Location" on the top right of the page in the first step 3.4 Click "+Add" on the "Sub Location" tab and enter a name for the location. Note: If "Custom" was selected as the location coding rule in the previous step, you will also need to enter the location code in this step. 3.5 Select the location function, enter the area and status, and upload attachments (optional). Note: The location function is configured on the General Settings--Site Location Function page. The unit of area is configured on the Site Settings--Site Area page. Once the status is archive, this location cannot be applied to maintenance and workspace suites. When you upload attachments here, you can also view them on the 3D Interface page. 3.6 Click "Submit"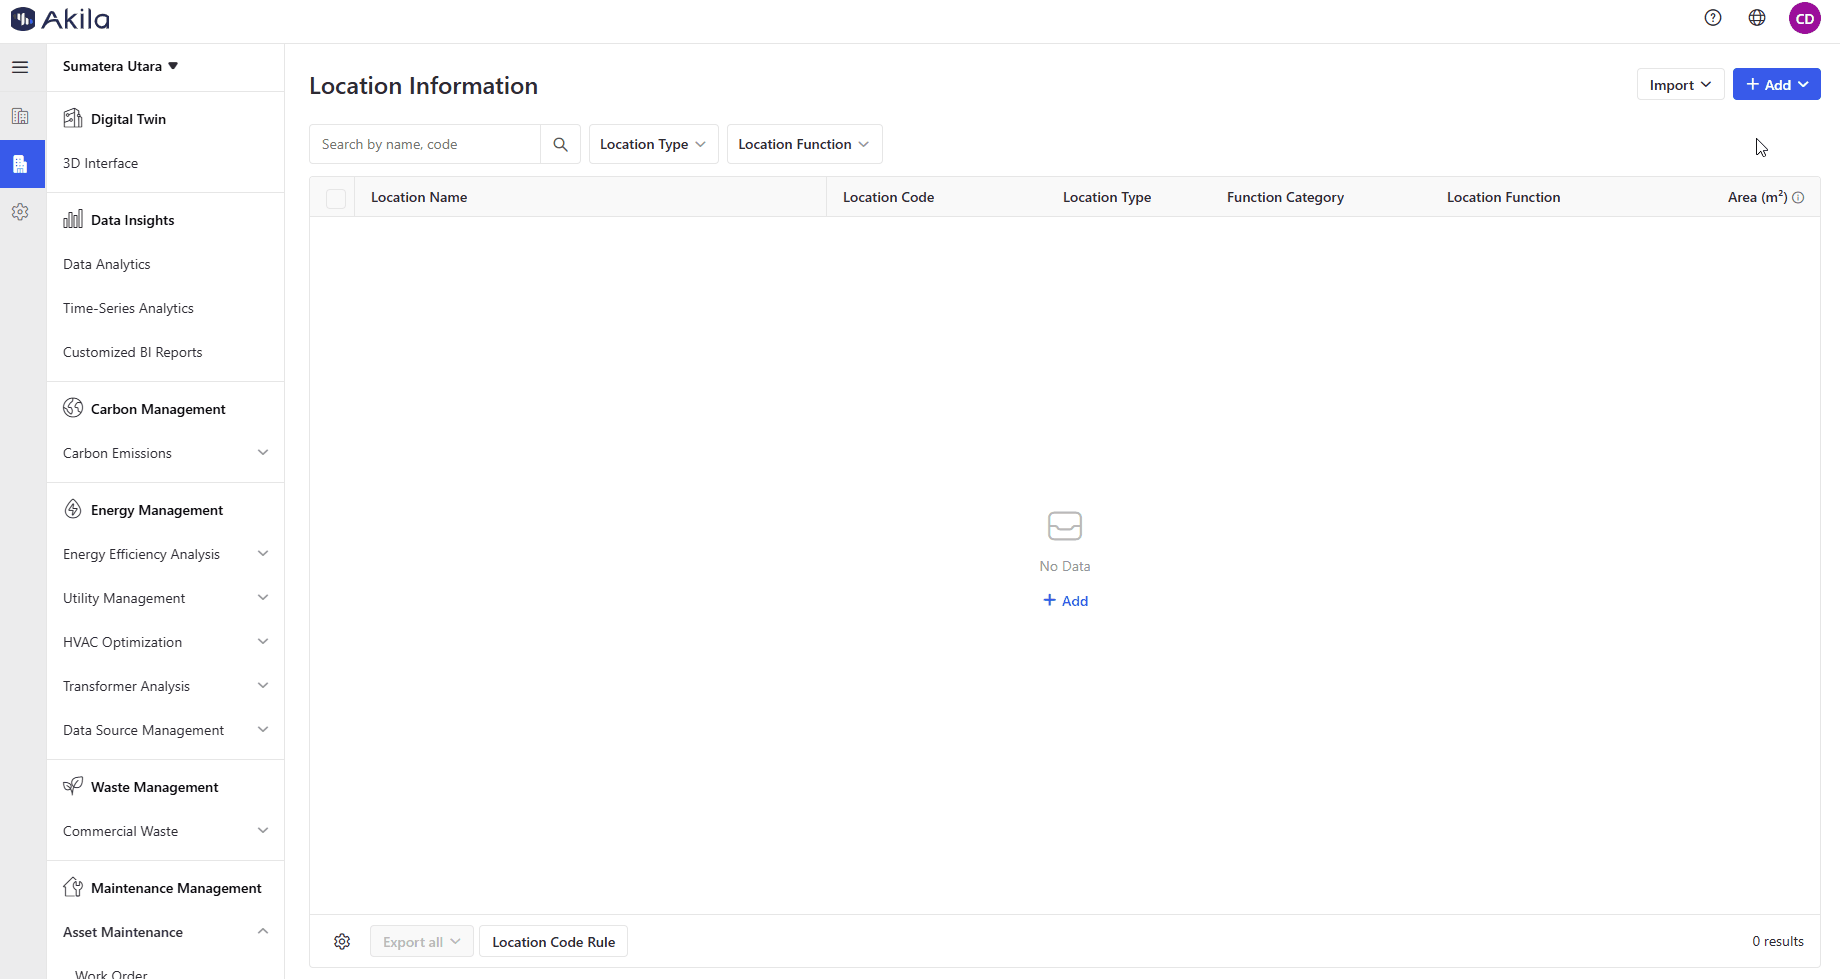
Import Location - Add Location Information
- Click "Import" in the top right corner of the page
- Click "Add Location Information"
- Click "Download Template" on the pop-up
- Complete the template according to the instructions in the Excel file.
Note: If you fill in anything wrong, you can get an error report file. - Click "Please select"
- Click "Confirm".
Import Location - Update Location Information
- Select the locations that you want to edit.
- Click "Export Selection" and "Export Excel"
- Edit the location name and area in the file and save it.
- Click "Import" in the top right corner of the page
- Click "Update Location Information"
- Click "Please select" and select the file you edited in step 3.
- Click "Confirm".